How to Make a Paper Bird Very Easy
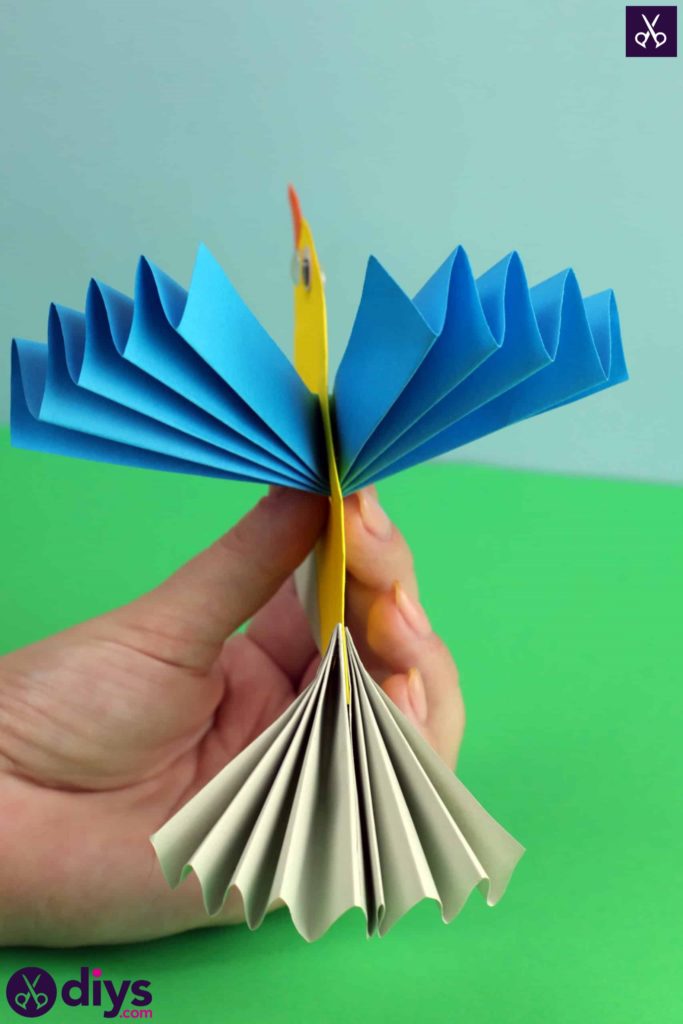
Ever since I was a little kid, I've always adored making simple cut and paste based paper crafts. In fact, I liked the easy, fun process so much and appreciated the versatility of paper so heavily that I actuallystill love making this kind of craft to this day! This is especially true since I had kids of my own and started feeling the urge to pass my love for all kinds of crafting and DIY down to them. Sharing basic paper crafting techniques and hoping to introduce them to things like origami as soon as they're ready is actually how I came up with this idea for making a little cutting, pasting, and folding based bird with 3D wings and a dimensional tail.
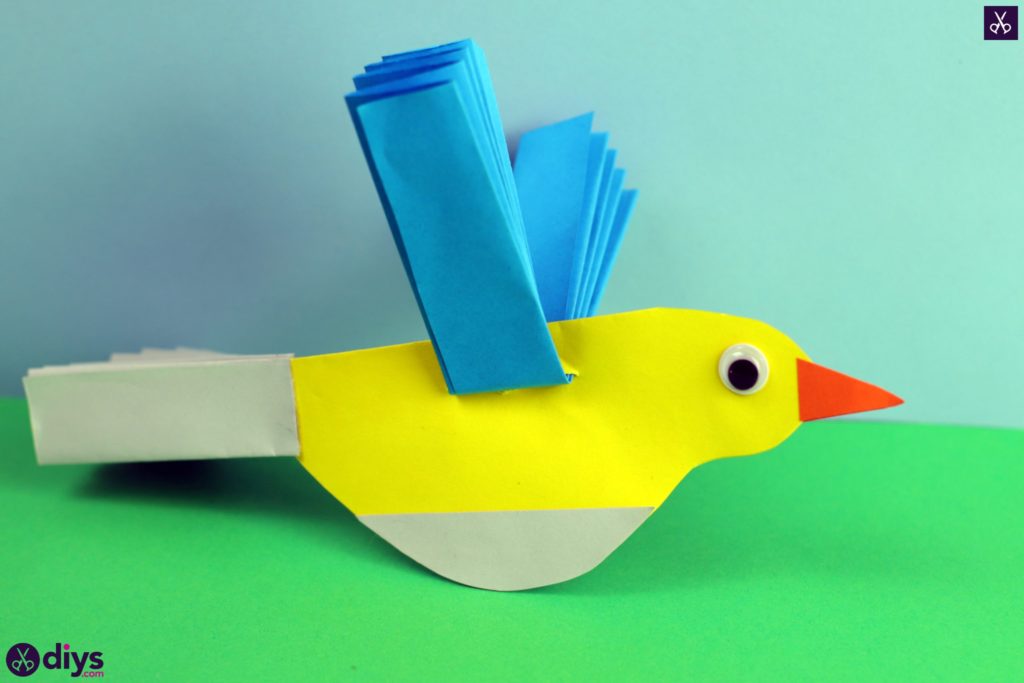
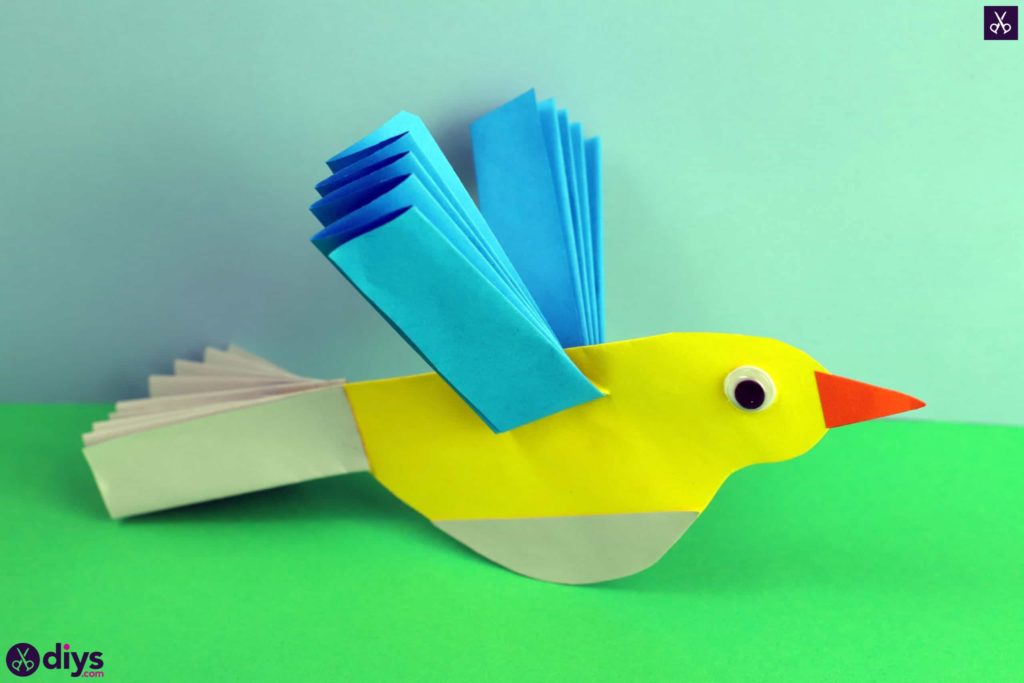
Check out these step by step instructions complete with photos! If you'd rather follow along with a video tutorial instead of written words, scroll to the bottom of this post to find just what you're looking for.
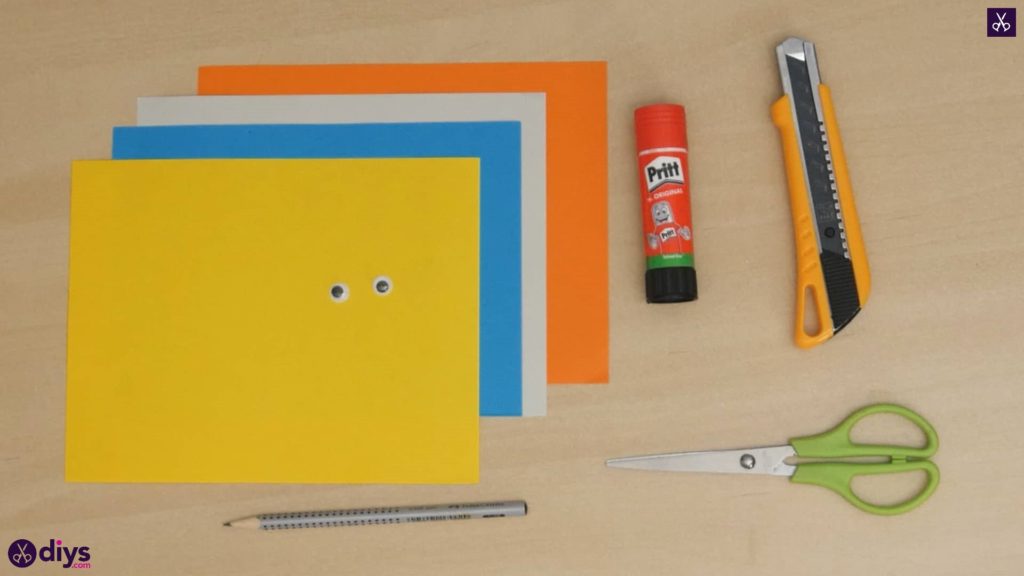
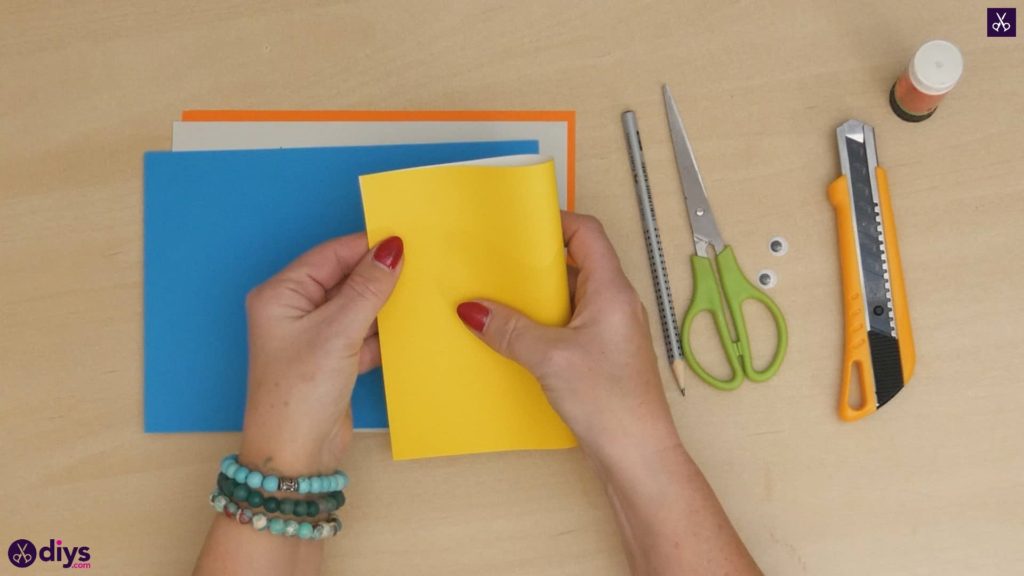
For this project, you'll need:
- Paper (orange, yellow, grey, and blue)
- Googly eyes
- A glue stick
- Scissors
- A pencil
- A folding utility knife
Step 1: Gather your materials!
Get everything you need before beginning.
Step 2: cut your parts
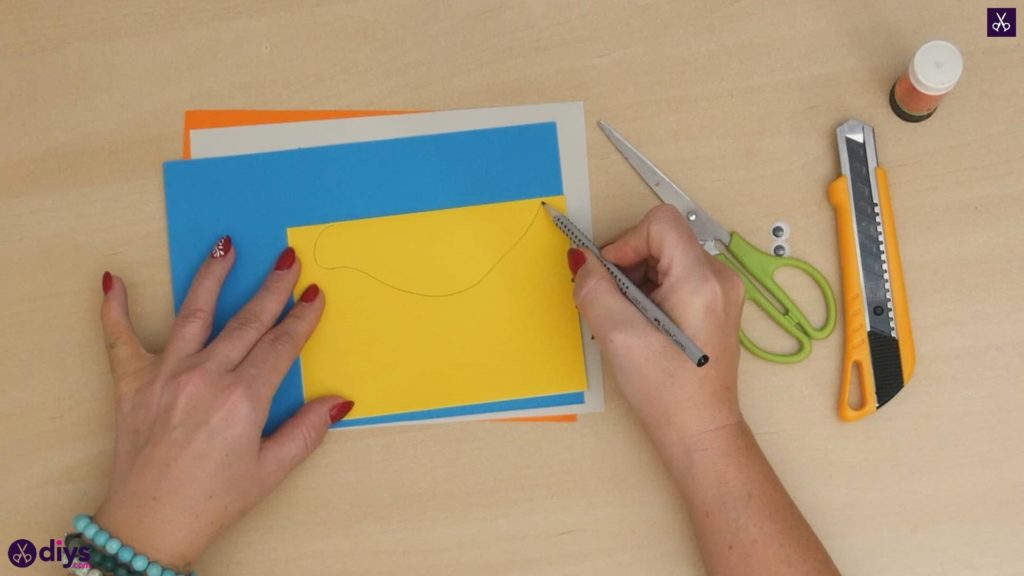
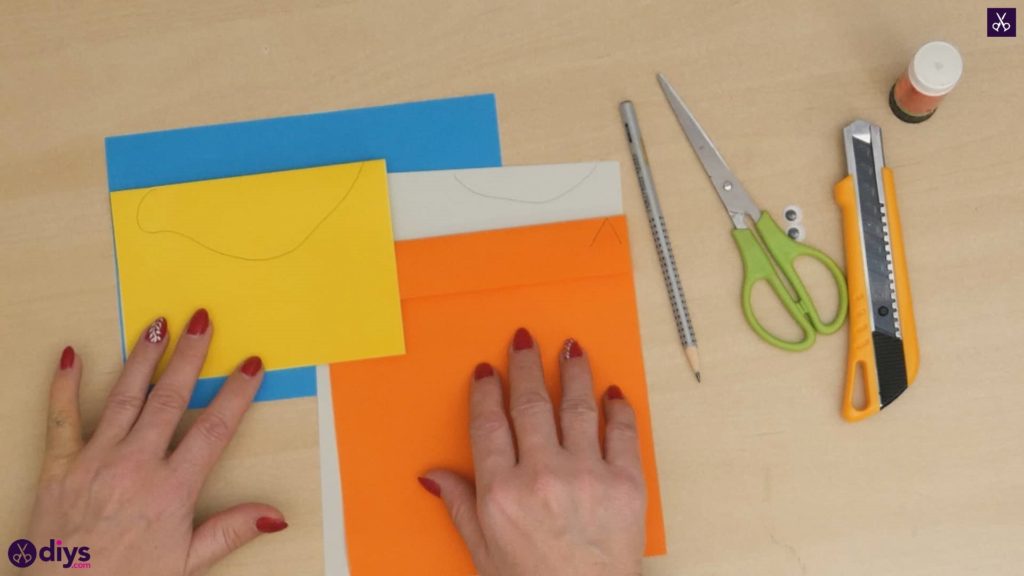
Fold your piece of yellow paper in half so that the short ends meet, creasing the piece in the middle where it bends. Rotate the page so the crease is at the top and, using that edge as the bird's back, draw the shape of your bird's body, making a head, a stomach, and an angle up towards a tapered tail. Set this aside for now; draw the rest of your pieces first and cut them all out at once in a moment.
Step 3: draw two semi circles
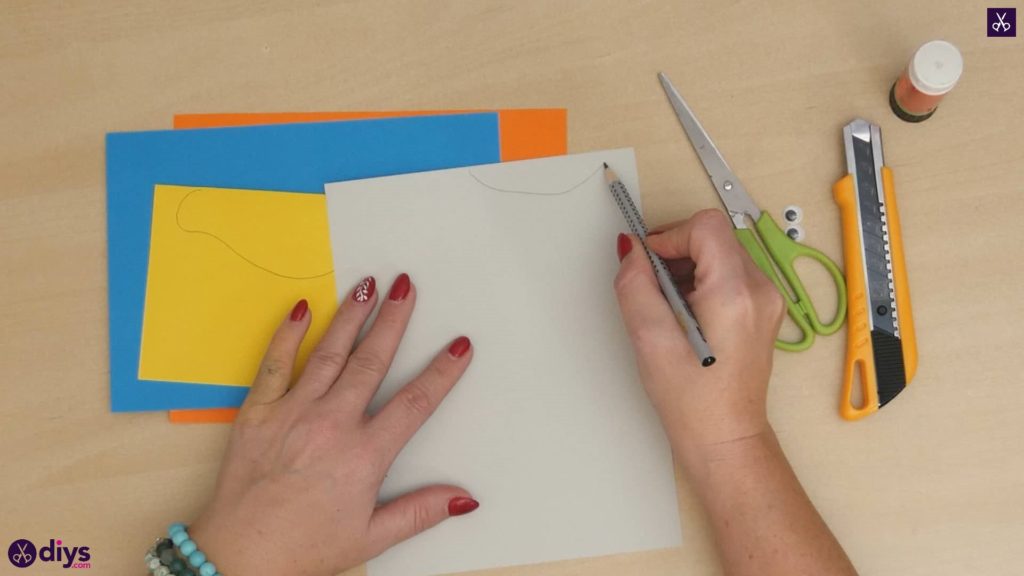
Along the top edge of your grey sheet of paper, along one of the shorter edges, draw two long semi-circle shapes that are the same shape, length, and size as the rounded stomach shape you just drew at the bottom of your bird's yellow body. Set this with your yellow piece.
Step 4: make the beak
Fold the top of your orange paper over about half an inch, along one of the shorter edges of your page, and draw a small triangle. This will be your bird's beak! You want your tip to lie right on the crease so that the beak has two sides that stay attached when you cut it out.
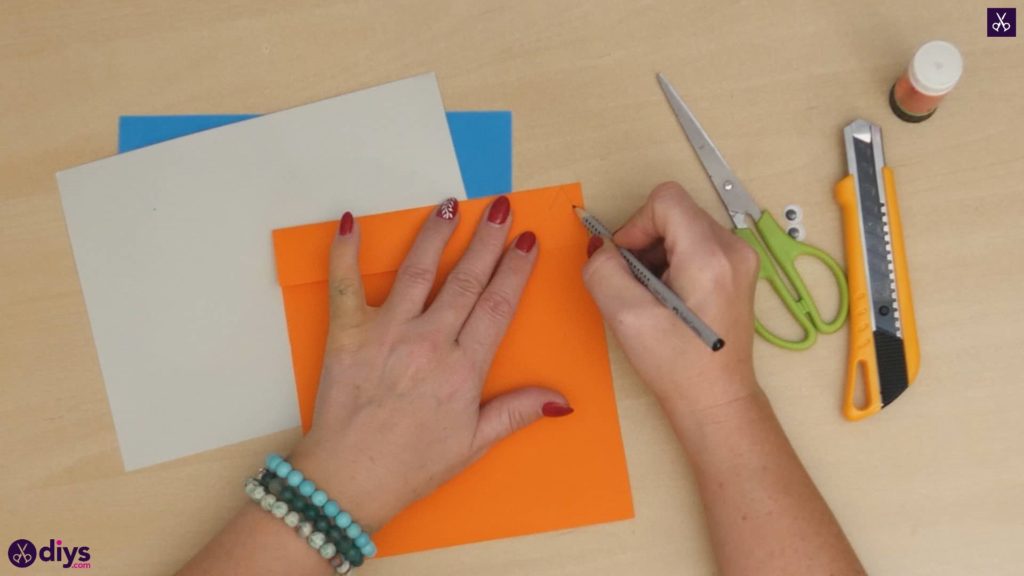
Step 5: cut everything
Cut out all of the shapes you've drawn so far! Side them side for later while you make your bird's wings and tail.
Step 6: fold wings
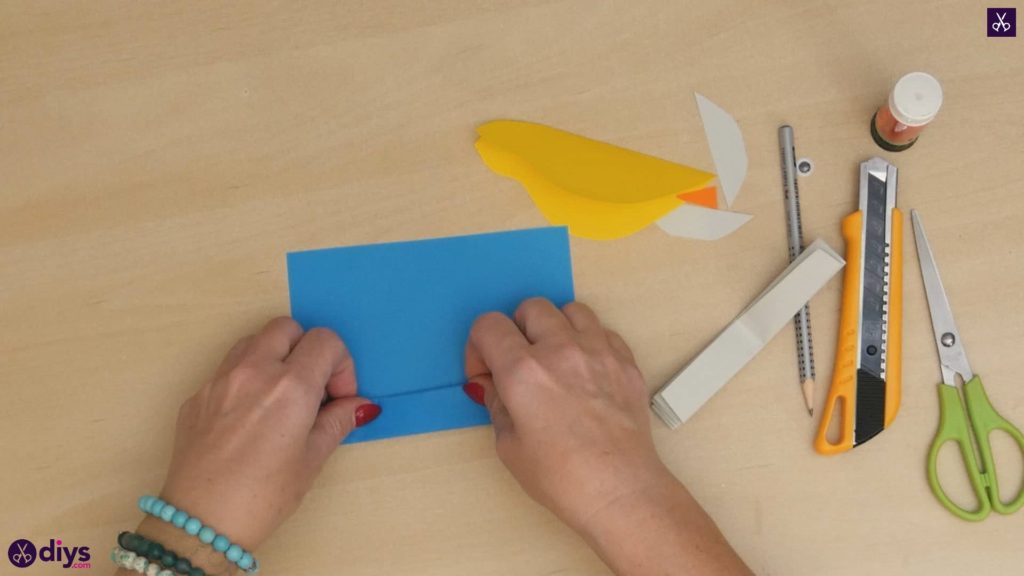
Trim the parts of your grey paper that you cut the tummy pieces of your bird from off the side so you have an even rectangle once more. Turn this so that the short edges are at the top and bottom and start making a folded fan from the bottom up, using an accordion technique. Fold the bottom edge up by half an inch, keeping the side edges even and the length straight and constant all along the page. Flip the piece to bring that folded edge up, with the fold facing the table and fold it back over the same amount, bringing your first fold back over to this side again. Flip the page once more in the opposite direction and repeat the folding process, making your folds even each time. Continue folding in this way until you've reached a point where you don't have enough paper left to get one last even fold of the same size. Trim the excess if necessary. Set the folded grey piece aside for the moment.
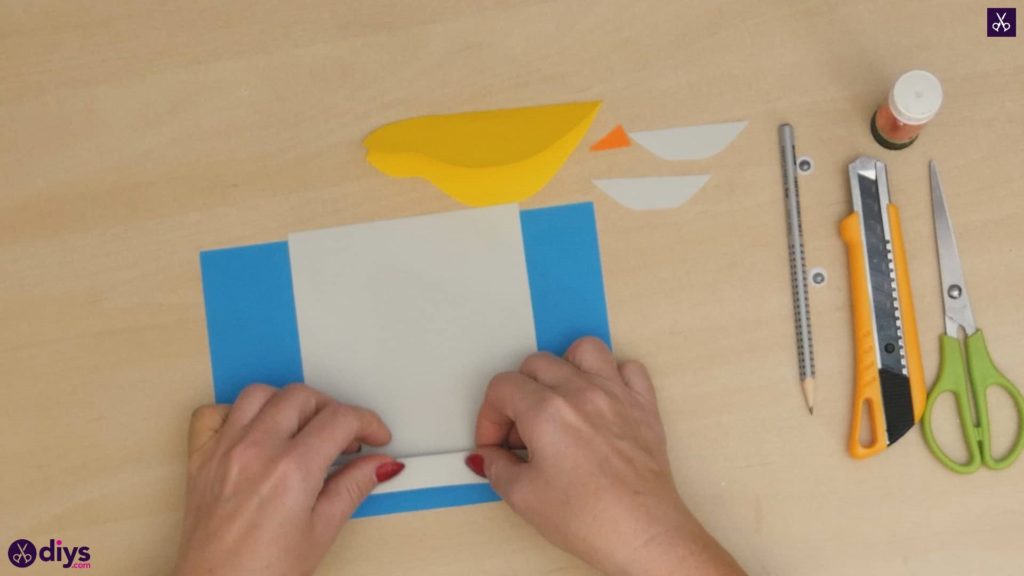
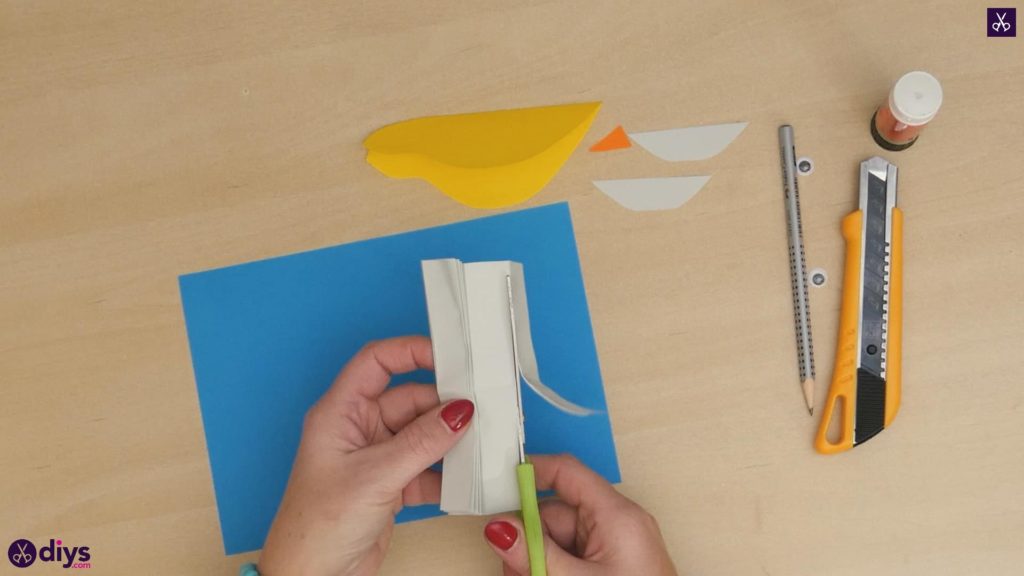
Step 7: repeat
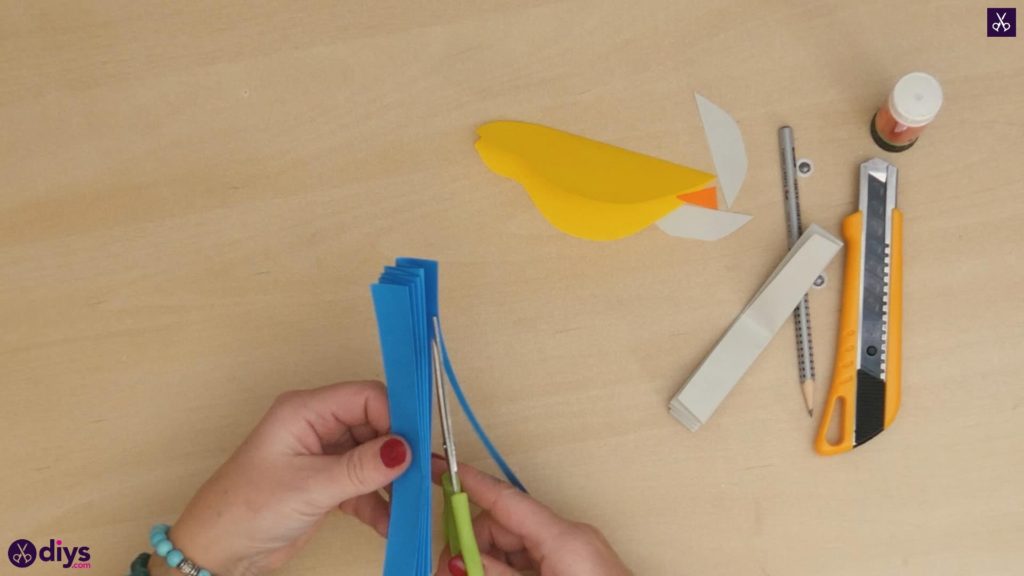
Repeat this folding process once more with your piece of blue paper! You'll use the same accordion technique as before all the way to the end. This piece will be your bird's wings.
Step 8: cut grey peice in half
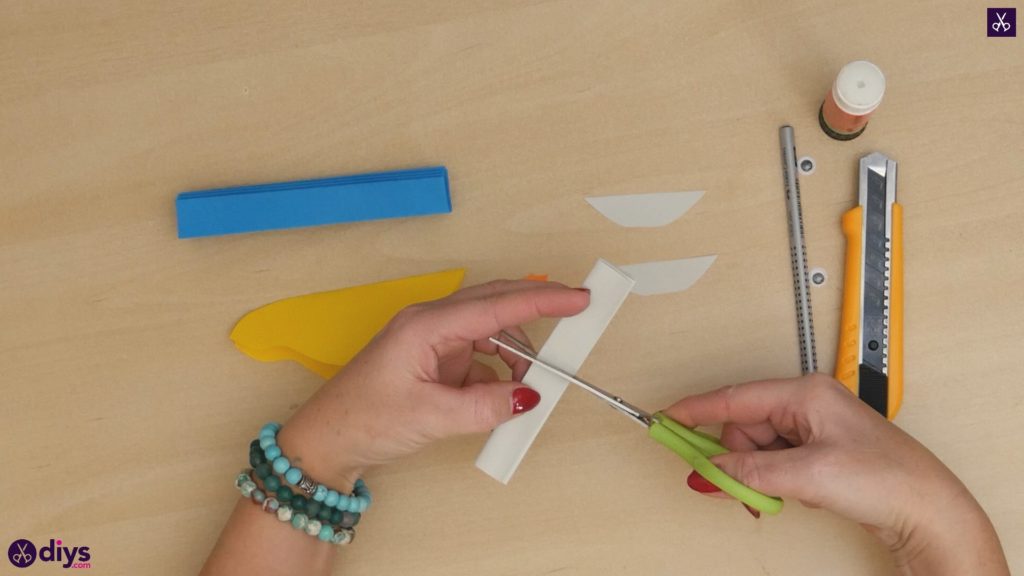
Find the halfway point along the length of your folded grey accordion piece and cut it in half. You now have two tail pieces; one for each side of the bird.
Step 9: start gluing
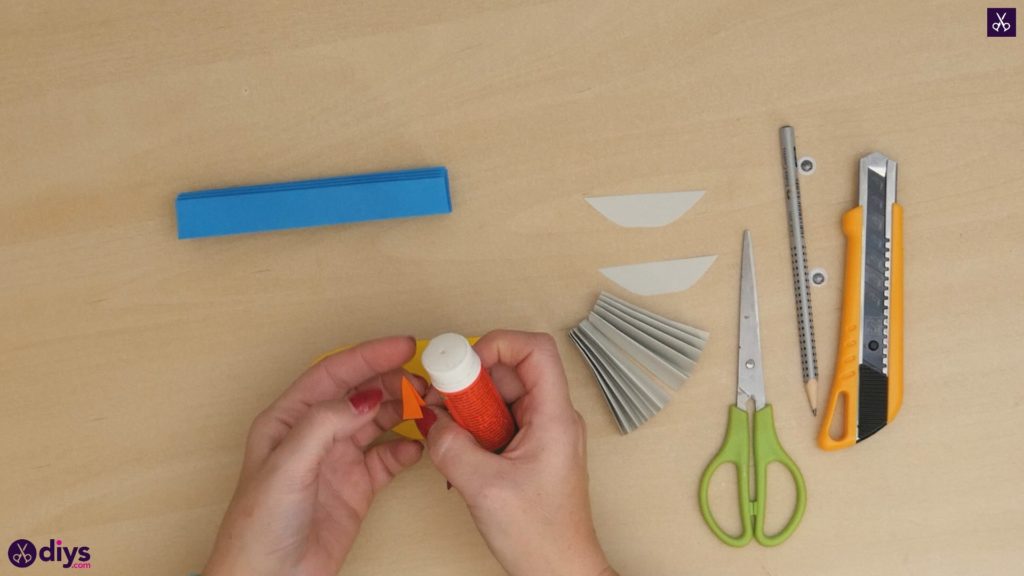
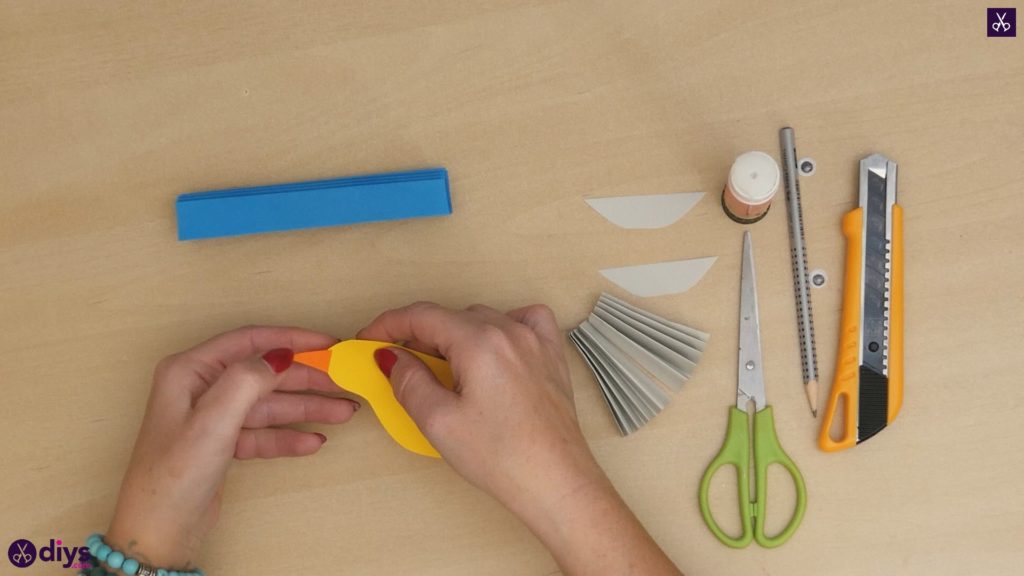
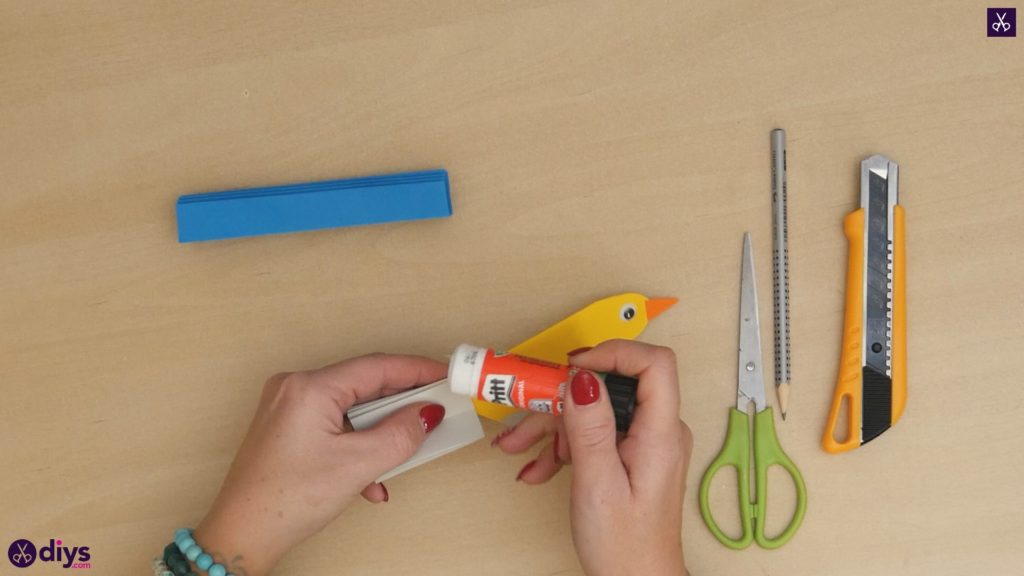
First, open up the bird's yellow body piece and apply glue on the inside so you can stick the two sides closed but still have the outside show yellow on both sides. Next, open up the two sides of your beak and apply glue on the inside, then turn it so the front of your bird's head fits right inside and you can stick the open ends down on either side.
Step 10: glue the belly
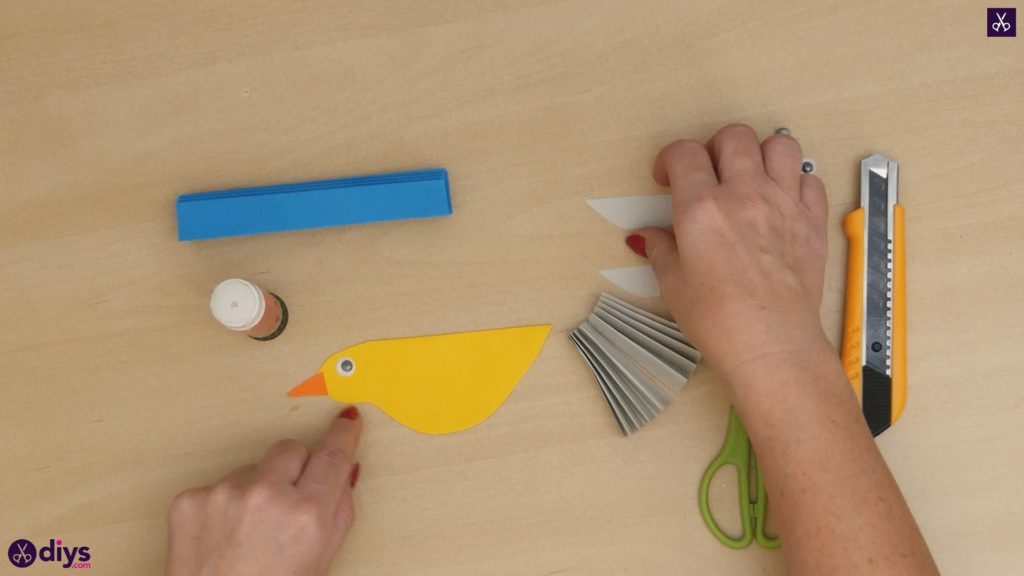
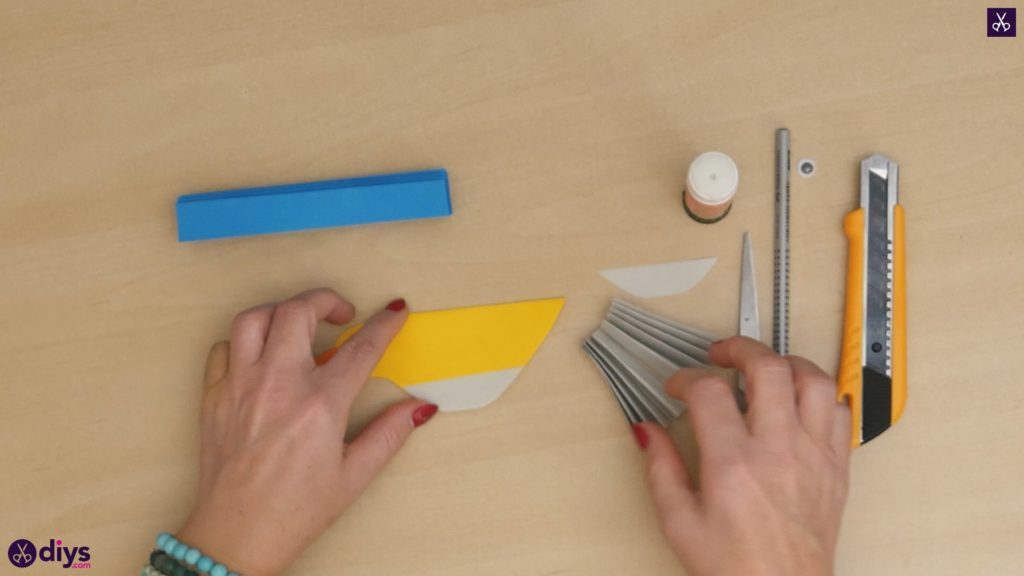
Apply glue on one side of each pf your grey stomach pieces and line them up with either side of the bird's yellow body so it looks like a rounded patch of feathers. Trim around the edges to make all three pieces line up if necessary.
Step 11: add tail
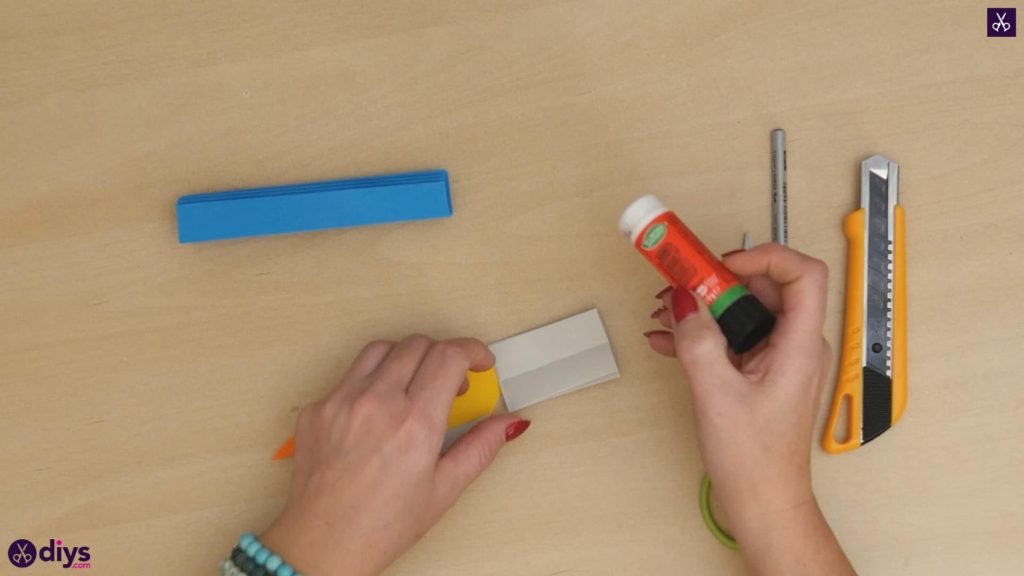
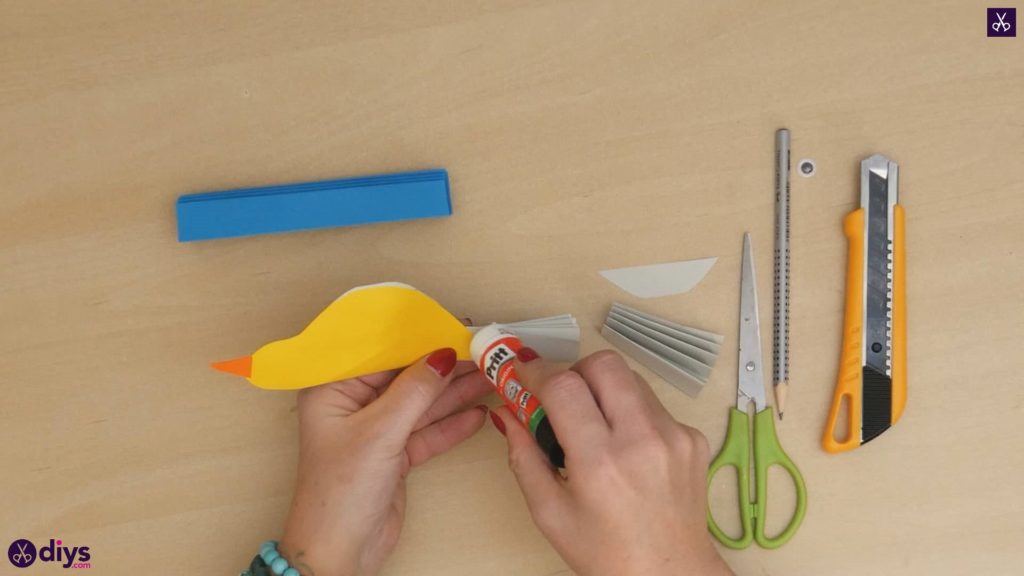
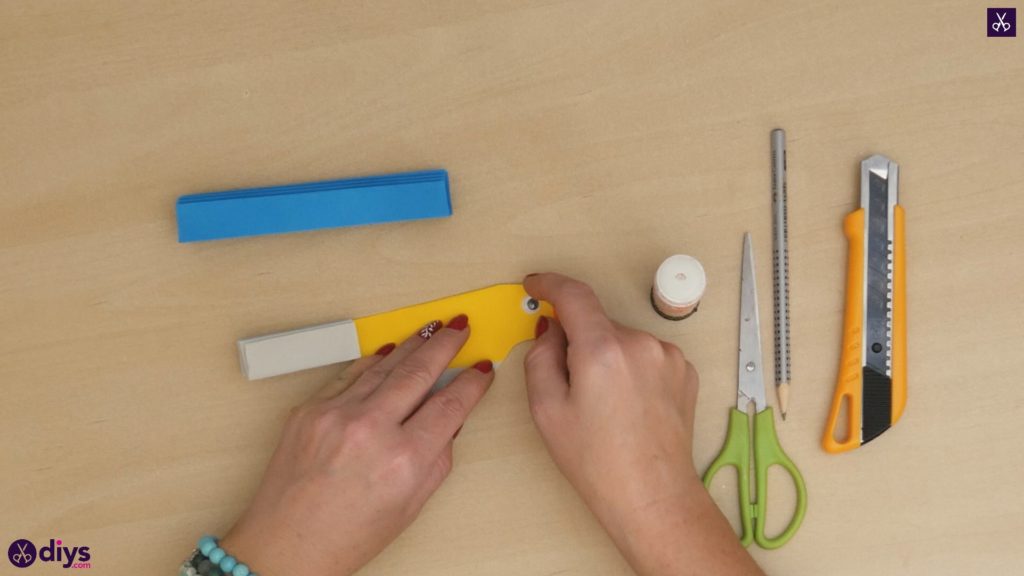
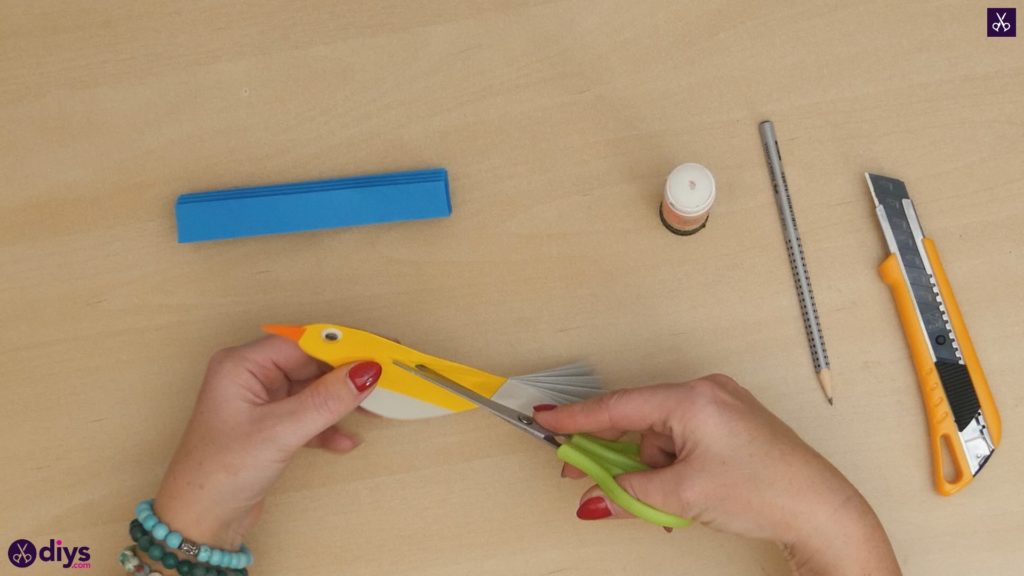
On one side, glue your googly eye onto your bird's head a little higher than the beak. Then apply glue between the folds of your first accordion piece at one end, sticking them together so you can splay the folds at the other end open without the piece unraveling. Once those are stuck in place, apply glue on the outer later on one side and stick the piece down on one side at the bird's tail end. Then flip the piece over and repeat both the googly eyeand the tail feather process on that side. Spread your tail pieces' loose ends out as necessary to get the look of feathers.
Step 12: add wings
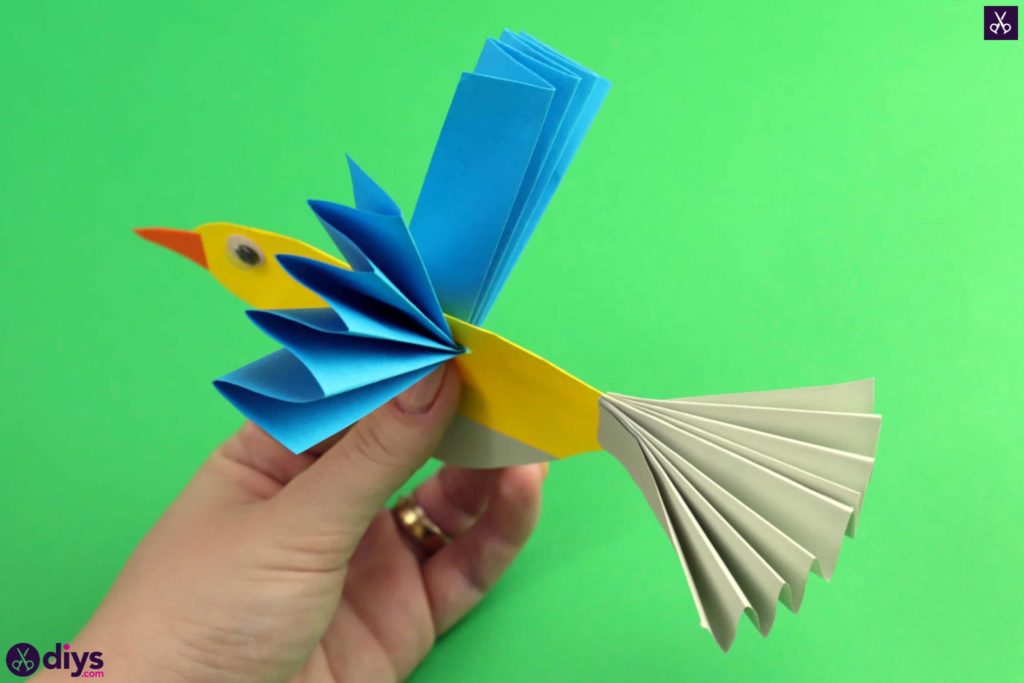
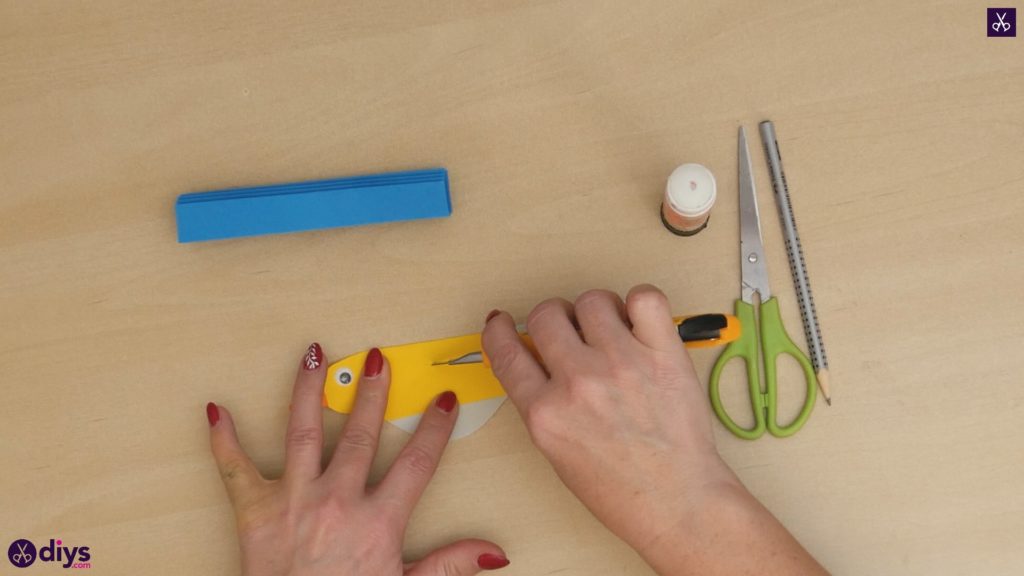
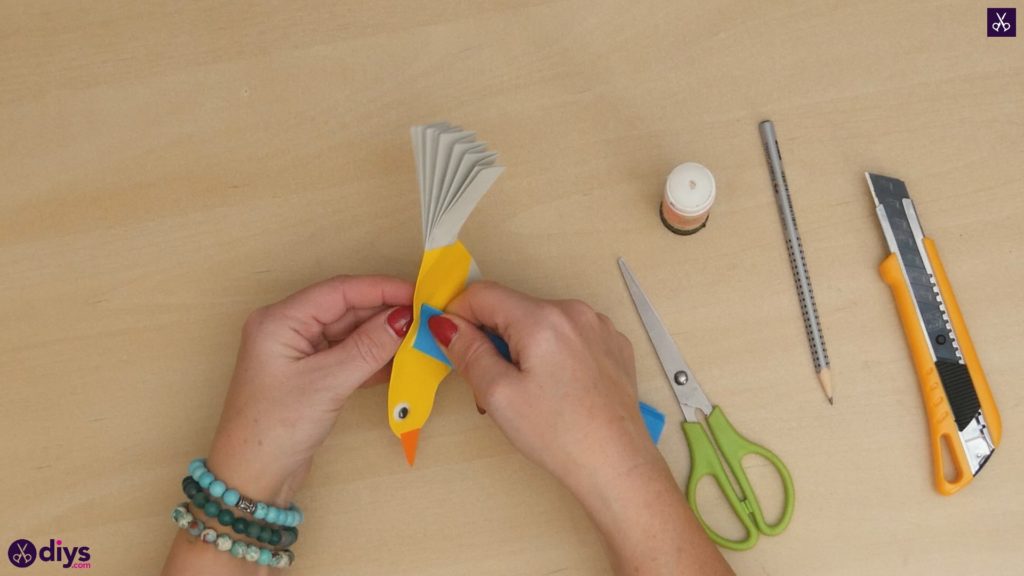
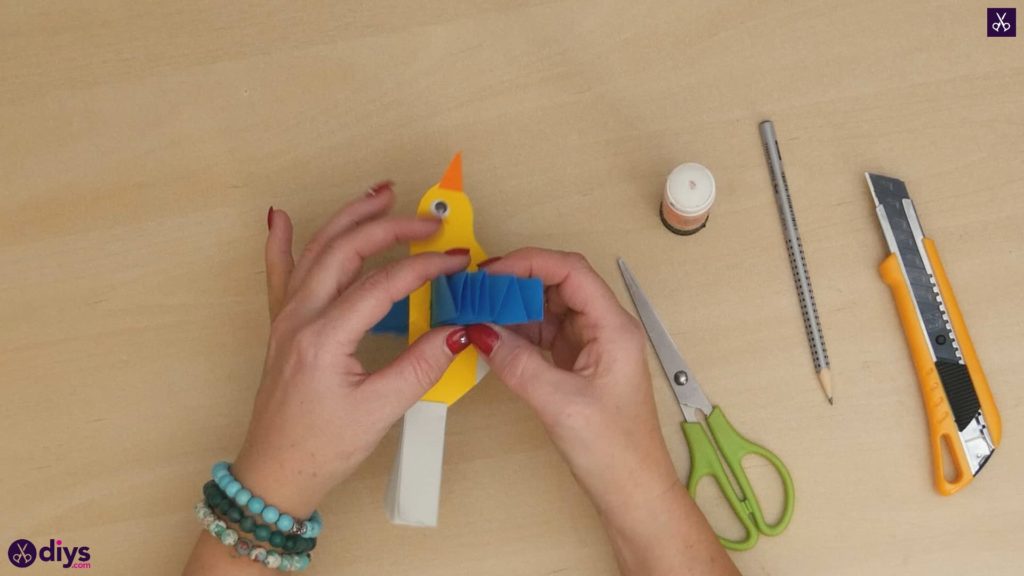
Laying your bird flat on one side, use your utility knife to make a cut at the top of the bird's body, parallel to the back but with enough space that you can open it up a little without the back piece above, where your original crease is, ripping through. Use your scissors to cut it all the way through or make the cut a little wider or longer if you need to. Finally, pinch your blue folded accordion piece together at one end and slide it through the cut you just made in the yellow paper, pulling it through until the bird's body sits about halfway between the two ends of the blue piece. Splay and adjust the ends so it looks like the bird's wings are spread to fly!
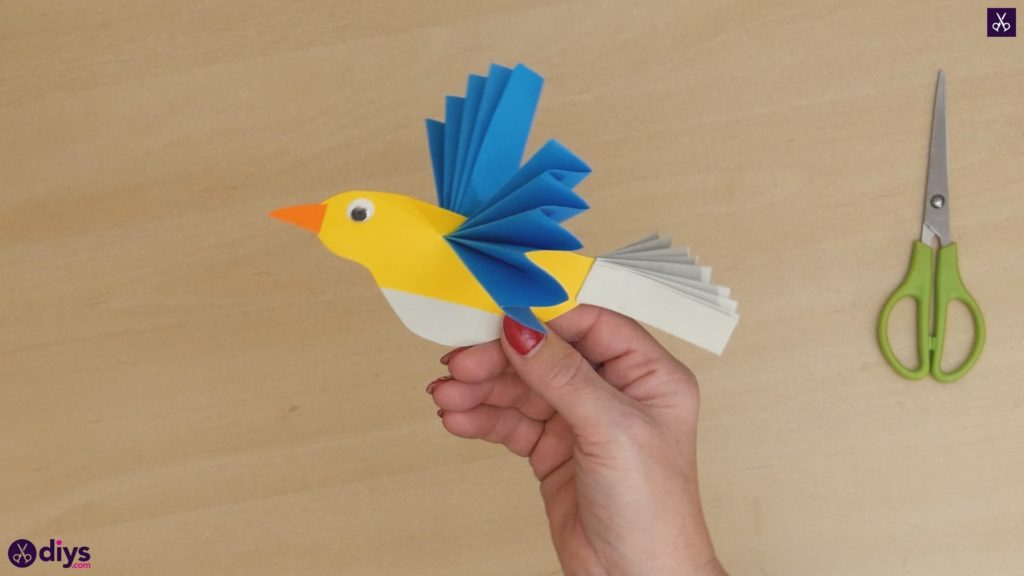
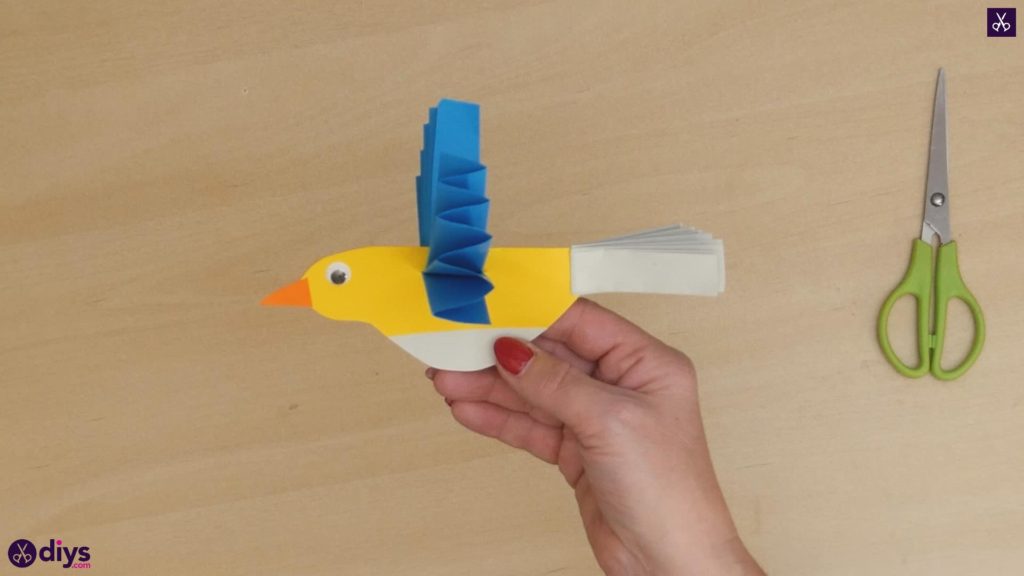
You're officially all finished your bird! As always, feel free to get creative with colours and embellishments using this basic concept as a guide, and then customizing how you see fit. Just in case you'd like to try this project out for yourself, here's a fantastic tutorial video to help you!
Source: https://www.diys.com/paper-birds-tutorial/
